Getting Started
Fork the repository, clone it to your machine, and install dependencies. This takes about 2 minutes.
Prerequisites
Before you begin, make sure you have the following installed:
- Node.js 22+ · Download from nodejs.org. Verify with
node --version. - npm 10+ · Bundled with Node.js. Verify with
npm --version. - Git · Download from git-scm.com. Verify with
git --version. - A GitHub account · Sign up free if you don't have one.
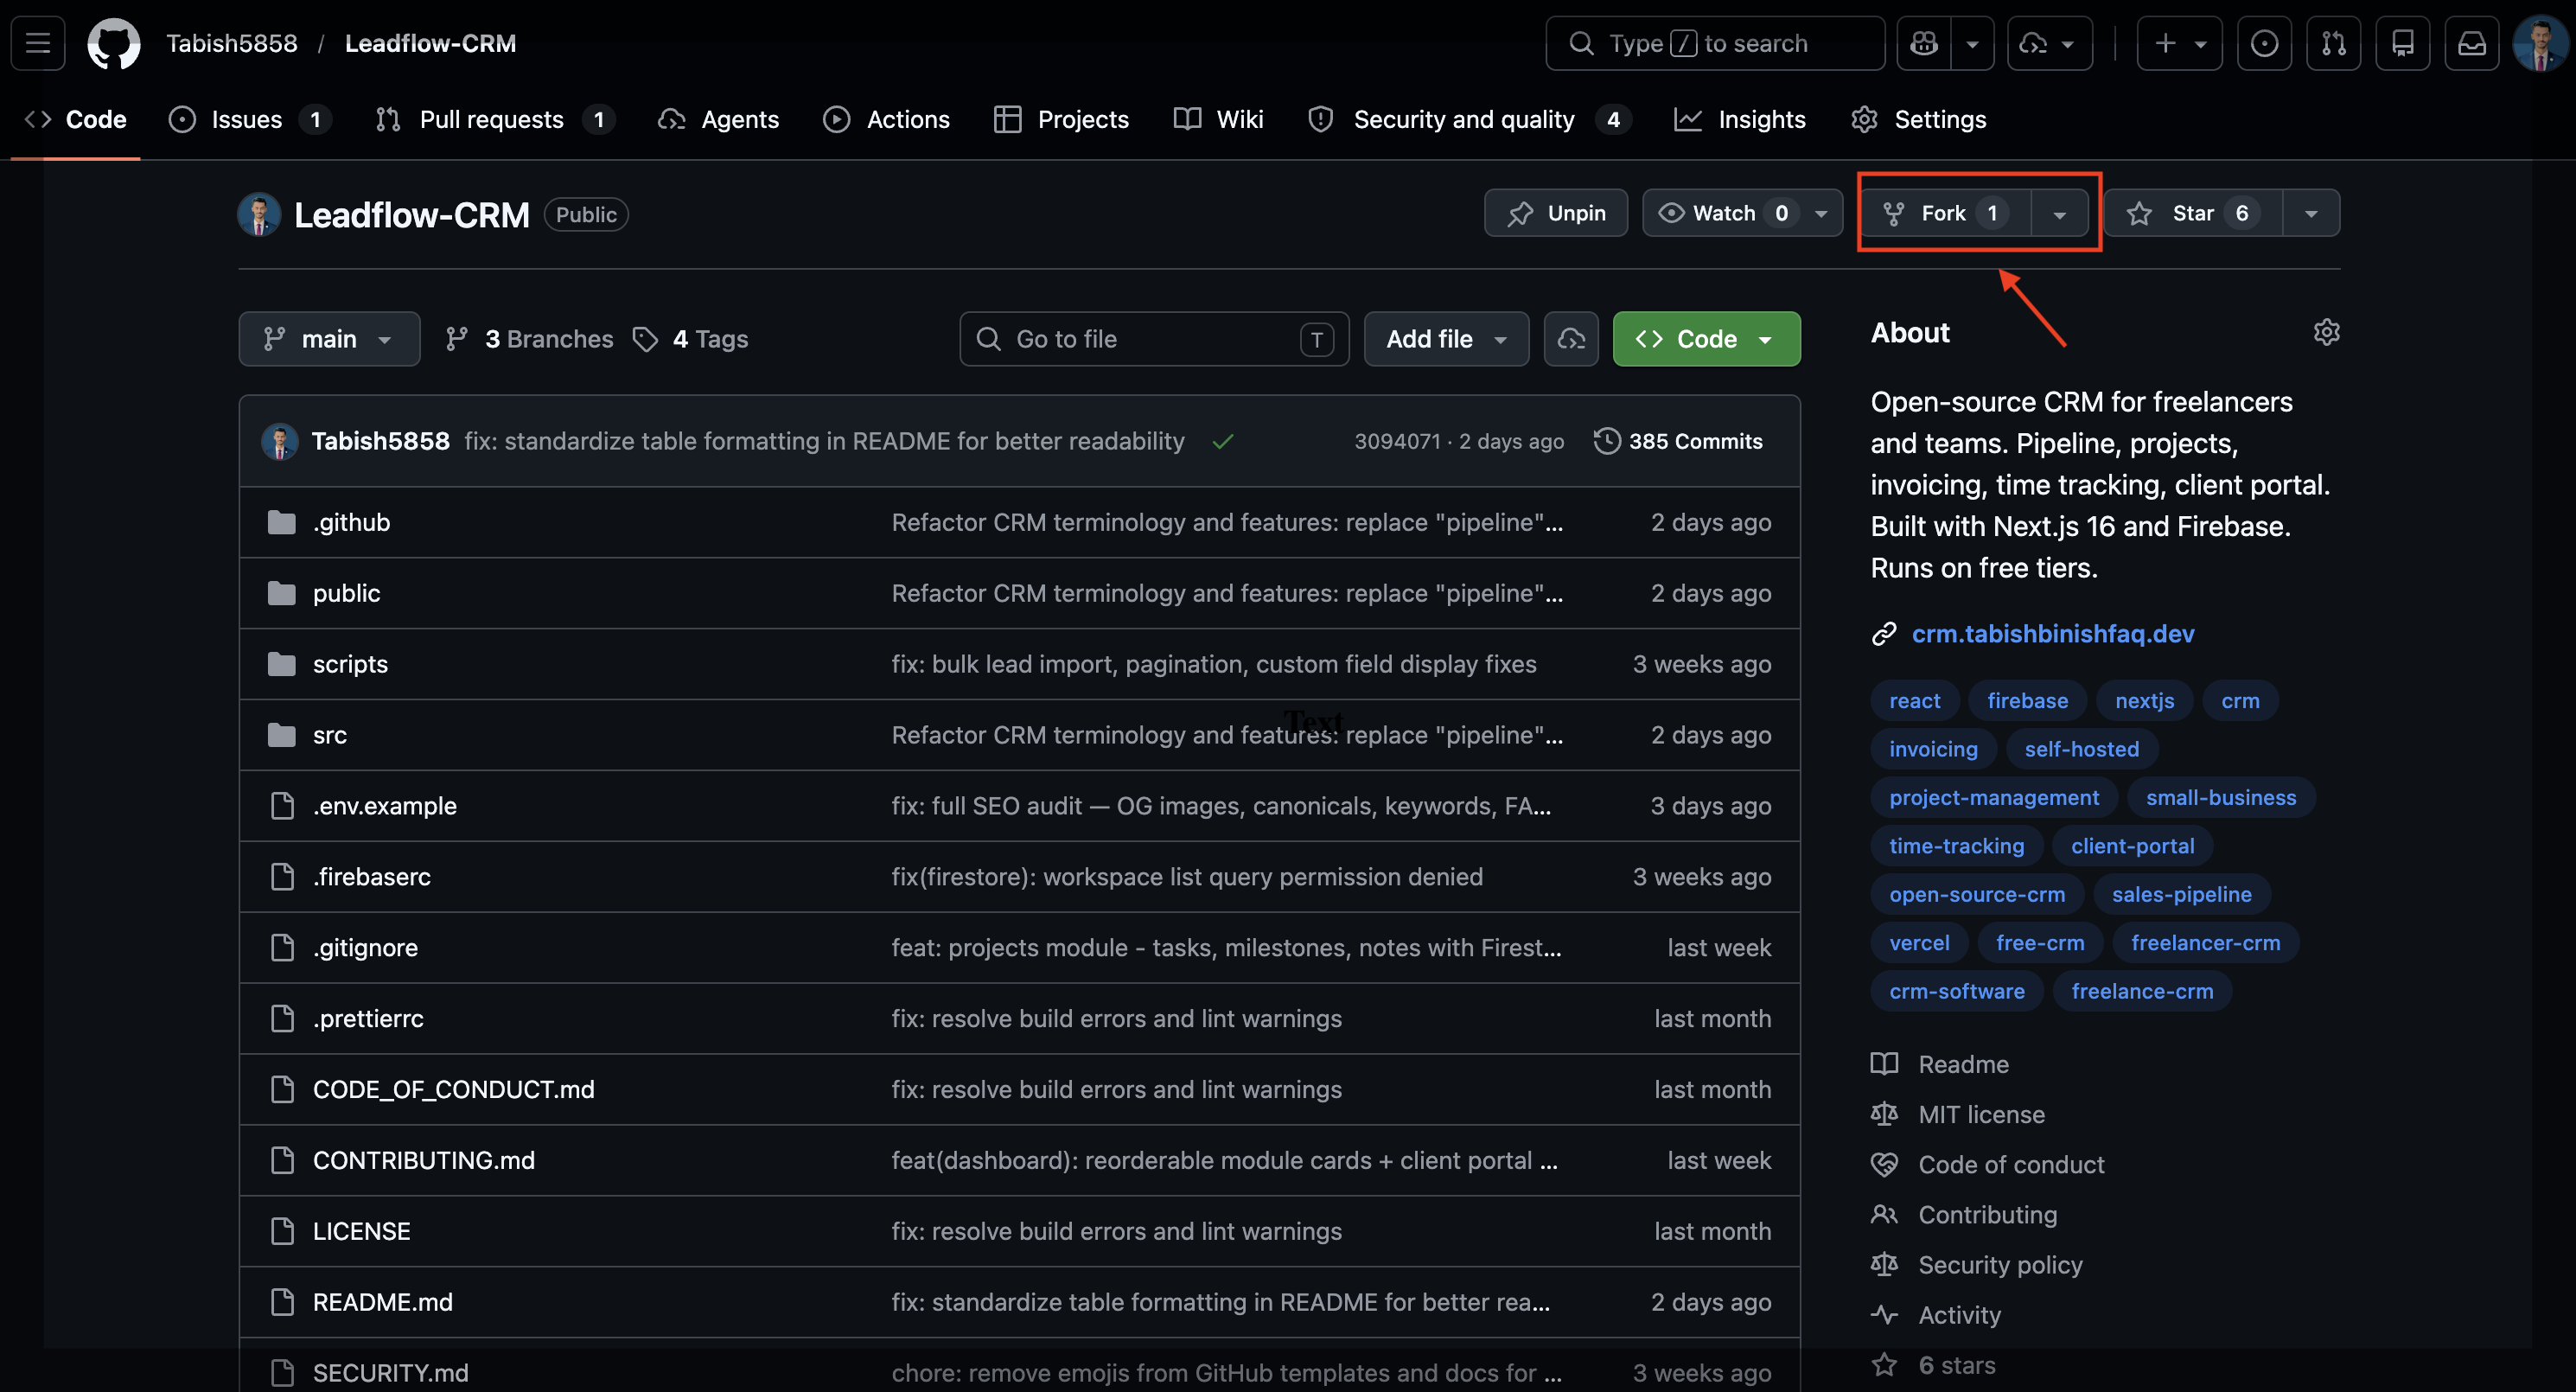
Step 1: Fork the Repository
Forking creates a copy of the ClientFlo repository under your GitHub account. This lets you deploy and customize your own instance.
- Navigate to github.com/Tabish5858/ClientFlo
- Click the Fork button in the top-right corner
- Select your GitHub account as the destination
- Click Create fork
Step 2: Clone Your Fork
Open a terminal and clone the forked repository to your local machine:
git clone https://github.com/Tabish5858/ClientFlo.git
cd clientflo-crm
Replace Tabish5858 with your actual GitHub username.Step 3: Install Dependencies
Install all required npm packages:
npm installThis installs Next.js, React, Firebase SDK, and all other dependencies defined in package.json. It typically takes 30–60 seconds.
Step 4: Verify the Installation
Start the development server to confirm everything works:
npm run devOpen http://localhost:3000 in your browser. You should see the ClientFlo landing page.
Installation Complete
You now have ClientFlo running locally. Next, configure the services: Firebase, Cloudinary, Resend, and Google Calendar.
Next Steps
With the codebase set up locally, proceed to configure the required services:
- Set up Firebase · authentication, database, and storage
- Set up Cloudinary · file and document storage
- Set up Resend · transactional email
- Set up Google Calendar · calendar sync and meeting creation
- Configure environment variables · wire everything together